

Dust, skin oils, crumbs, and pocket lint can make a perfectly good device feel worn out. Cleaning helps, but electronics are less forgiving than a kitchen counter. Too much liquid can enter an opening, a rough cloth can permanently mark a coating, and an improvised metal pick can bend the tiny contacts inside a charging port. The safest approach is slow, dry-first, and specific to the device.
This guide explains how to clean electronics safely without relying on aggressive chemicals or risky shortcuts. Before touching a valuable or unusual device, read its current care instructions. Manufacturers may specify compatible cleaners, removable parts, water-resistance limitations, and steps that differ from general advice. When those instructions conflict with a general method, follow the device documentation.
Prepare a low-risk cleaning station
Choose a well-lit table where small pieces cannot roll into a sink, carpet, or floor vent. Wash and dry your hands, remove rings or bracelets that could scratch a surface, and clear drinks from the area. If the device has important local files, confirm that your normal backup has completed before doing any maintenance. A simple personal file backup routine reduces the stakes of an accidental failure, even though cleaning should not affect stored data.
Shut the device down fully rather than merely locking the screen. Unplug power, cables, headphones, and accessories. Remove an easily removable battery only if the official instructions tell you how; do not pry into a sealed enclosure. Allow a warm device to return to room temperature. Cleaning a powered or hot device increases the chance that moisture, pressure, or a loose object causes trouble.
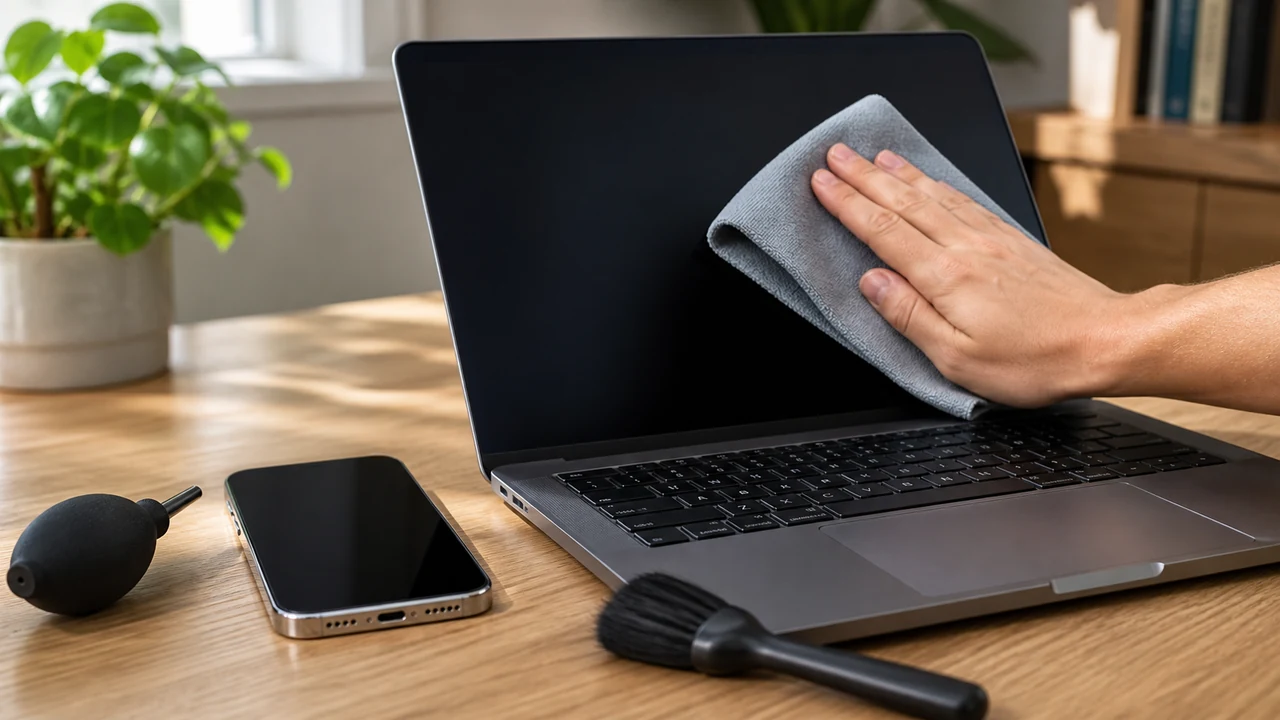
Gather a clean microfiber cloth, a second dry cloth, a soft brush intended for delicate electronics, and a manual air blower if appropriate. Distilled water may be useful for a lightly dampened cloth when documentation permits it. Use a manufacturer-approved screen or device cleaner only as directed. Avoid paper towels, tissues, household sprays, abrasive pads, pins, knives, and unverified solvent mixtures. A cloth that picked up grit while cleaning something else can scratch, so start with a freshly laundered one.
| Area | Start with | Main risk | Reason to stop |
|---|---|---|---|
| Screen | Dry microfiber cloth | Scratched or damaged coating | Mark needs pressure or unapproved liquid |
| Keyboard surface | Soft brush and cloth | Debris pushed below keys | Key is loose, sticky, or mechanically damaged |
| Charging port | Light and gentle dry air | Bent contacts or compacted lint | Debris is lodged or contacts look damaged |
| Outer case | Dry or barely damp cloth | Liquid entering seams | Case is cracked, swollen, or separating |
Clean a screen without grinding in dust
First inspect the dark, powered-off screen from an angle. Loose dust should come off before you address fingerprints, because wiping grit across a panel can create fine scratches. Use a clean, dry microfiber cloth with broad, light strokes. Support a laptop lid from behind without squeezing it, and do not press on soft spots or stubborn marks. Fold the cloth to expose a clean section as it becomes dusty.
If prints remain, check the device maker’s cleaning guidance. Where a slightly damp cloth is allowed, put a small amount of the permitted liquid on the cloth away from the device. The cloth should feel barely damp and should not drip when squeezed. Wipe gently, keeping moisture away from edges, speaker openings, camera holes, buttons, and seams. Follow with the second dry cloth and wait until the screen is fully dry before turning it on.
Screen materials and surface treatments differ. A cleaner that seems harmless on plain glass may affect an anti-glare or oleophobic coating. Do not assume that visible glass makes every window cleaner, disinfectant, or alcohol concentration appropriate. Avoid circular polishing with heavy pressure; repeated light passes are safer. If a spot may be paint, adhesive, or chemical residue, ask the manufacturer or a qualified repair provider rather than escalating to a stronger solvent.
Remove keyboard dust and crumbs carefully
For a standalone keyboard, disconnect it. For a laptop, keep it shut down and unplugged. Consult documentation before turning either one at an angle, because some designs contain movable or detachable parts. Over a clear table, gently change the angle so loose crumbs can fall out. Use a soft brush to draw debris away from the spaces between keys instead of driving it deeper.
If the manufacturer allows compressed air, follow its stated orientation and distance. Keep a can upright where instructed, use short controlled bursts, and never shake or invert it over the device. A manual electronics blower avoids propellant but still should not be jammed against a gap. High-pressure air can damage mechanisms, spin fans too quickly, or send debris farther inside. A household vacuum can create static or pull off keycaps, so it is a poor default.
Wipe key tops and the surrounding deck with a clean cloth that is dry or only as damp as the official care guidance permits. Never pour cleaner between keys. Do not remove laptop keycaps simply because a tutorial shows a similar-looking model; small clips vary and break easily. If one key remains sticky after surface cleaning, or liquid was spilled into the keyboard, power should stay disconnected while you consult model-specific service guidance.
Approach charging ports as delicate connectors
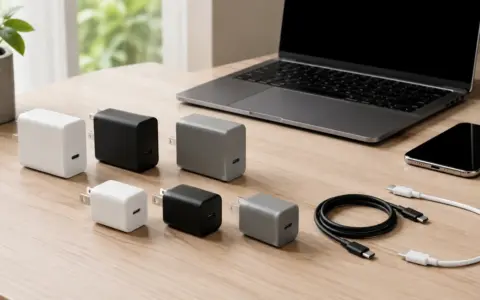
A port that looks dirty is not automatically the cause of a charging problem. First inspect the cable, power source, and connector for damage. Test only with compatible equipment that you already trust, and look up the device’s official troubleshooting sequence. The guide to choosing the right USB-C charger can help separate compatibility questions from a genuinely obstructed port.
With the device powered off and disconnected, shine a light across the opening. Do not insert a metal object, pin, wet swab, or anything that can splinter. Do not scrape the contacts. If documentation permits user cleaning, begin with gravity and gentle dry air from a safe distance. Hold the port so loosened debris can exit rather than settle deeper. Never blow with your mouth, which introduces moisture.
Some manufacturers describe a specific nonconductive tool or technique for particular models. Follow that instruction exactly rather than generalizing it to another connector. If packed lint does not move easily, a connector tongue appears bent, corrosion is visible, the port becomes hot, or charging cuts in and out when the plug moves, stop. A qualified repair provider can inspect it without turning a cleaning attempt into a port replacement.
Handle spills, swelling, and broken surfaces differently
Routine cleaning advice is not a spill-response plan. If liquid enters a device, disconnect external power when it is safe to do so, stop using the device, and follow its official emergency or service directions. Do not repeatedly power it on to check whether it survived. Do not use an oven, hair dryer, radiator, or loose grain as a drying method. Added heat can harm batteries and adhesives, while particles can create new contamination.
A bulging case, lifting screen, unusual chemical odor, smoke, hissing, or excessive heat may indicate a damaged battery. Do not press the enclosure closed, puncture it, charge it, or continue cleaning. Move away from immediate hazards if you can do so safely and consult the manufacturer’s current safety and service instructions. Local disposal options differ, so use an authorized service or appropriate household hazardous-waste guidance rather than placing a suspect battery in ordinary trash.
Cracked glass also changes the job. Fine fragments can cut skin and additional pressure can worsen the break. Keep the device powered down, avoid liquid, and arrange a repair based on official guidance. Preserve recoverability by knowing whether your data is backed up and how you will sign in after service. If storage is nearly full and backups are failing, address the device storage problem before it becomes an emergency.
Build a small maintenance routine
Frequent gentle cleaning is easier than occasional deep cleaning. Once a week or when needed, wipe touch surfaces with a dry clean cloth and brush visible debris away. Every month, inspect cables for fraying, ports for obstruction, vents for dust, and cases for separation. The interval should reflect the environment: kitchens, workshops, pet hair, and travel may require more attention, while a covered desktop device may need less.
Prevention does most of the work. Keep food and open drinks away from the computer area. Store cables without sharp bends, put a phone in a clean pocket rather than one full of lint, and close a laptop before moving it. Clean the cloths themselves without fabric softener or residues that could smear a display, following their care labels. Store any cleaning fluid away from children, pets, and electronics.
After cleaning, inspect for leftover moisture or fibers. Give damp-cleaned surfaces time to dry in open air. Reconnect accessories one at a time, then power on normally. If a button, key, display, or charging connection behaves differently, shut down and retrace only the safe, noninvasive steps. Do not keep plugging into a wet or damaged port to gather more evidence.
Frequently asked questions
Can I use disinfecting wipes on every screen?
No. Compatibility depends on the screen, coating, wipe ingredients, and manufacturer guidance. Check the current care instructions for that exact device. If permitted, use the wipe as directed, prevent liquid from pooling, and keep it away from openings.
Is compressed air always safe for a keyboard?
No. Pressure, propellant, angle, and keyboard construction matter. Use it only when the manufacturer permits it, follow the specified technique, and prefer short controlled bursts. Never use shop air or place a nozzle directly against delicate parts.
Should I use a toothpick in a charging port?
Not as a universal method. Even a nonmetal object can snap, compact debris, or damage contacts. Begin with official instructions and noncontact methods. When material is firmly lodged, professional service is the safer choice.
How do I clean a device after a drink spill?
Treat it as accidental liquid exposure, not ordinary cleaning. Disconnect power when safe, stop using it, avoid heat and repeated test starts, and follow the maker’s model-specific service guidance. A repair inspection may be appropriate even if the outside looks dry.
Can I clean while a device is charging?
No. Shut it down and disconnect power and accessories first. This reduces electrical risk and prevents accidental input. Reconnect only after all cleaned areas are completely dry.
Final safe-cleaning checklist
- Read the current care instructions for the exact device.
- Confirm important data has a usable backup.
- Shut down, unplug, and let the device cool.
- Start dry with a clean microfiber cloth or soft brush.
- Put only an approved liquid on the cloth, never the device.
- Keep moisture and tools away from openings and contacts.
- Use light pressure and stop when debris resists.
- Escalate spills, swelling, corrosion, cracks, and damaged ports.
- Wait for complete drying before reconnecting power.
Cleaning electronics safely is mostly an exercise in restraint. Use the least aggressive method that works, respect the device’s construction, and recognize when a cosmetic problem is really a repair problem. A few careful minutes performed regularly will usually do more good than a dramatic deep clean performed after dirt has become packed into delicate parts.