


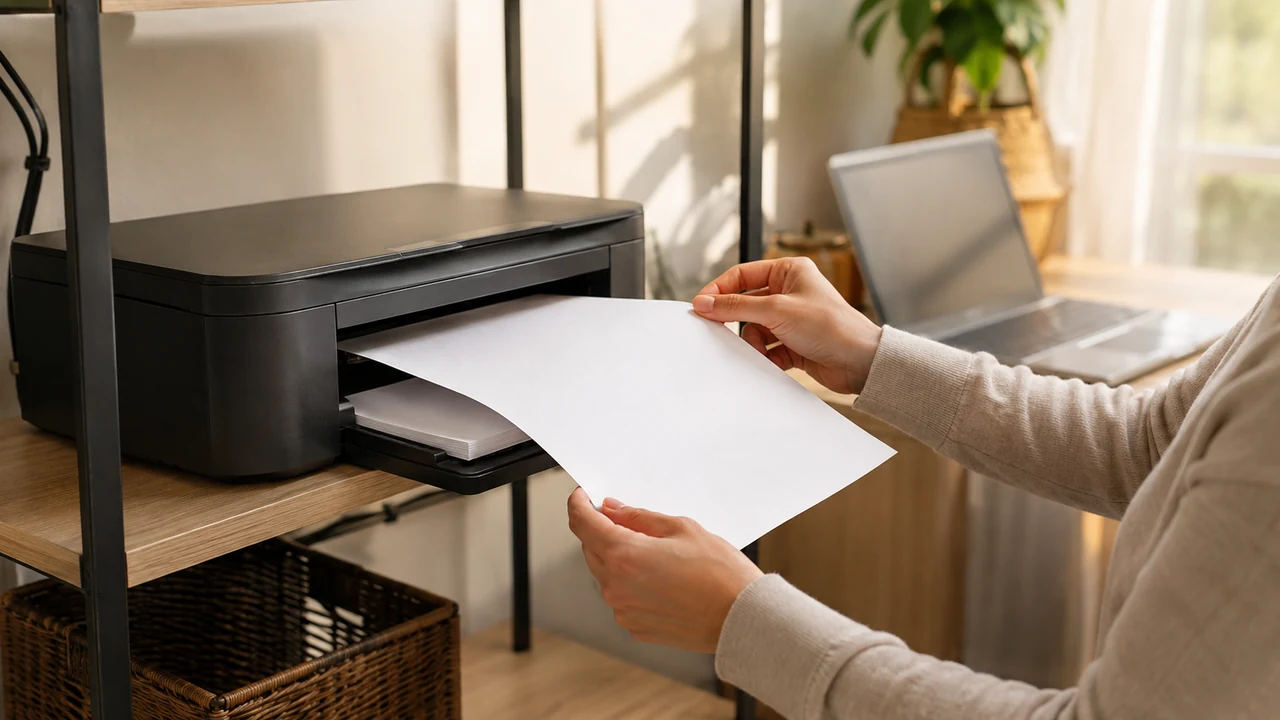
A home printer often feels unpredictable because several small systems have to cooperate: the printer, paper, supplies, network, computer or phone, driver, and the application sending the job. A practical home printer setup reduces those variables. It gives the printer a suitable location, establishes one dependable connection, uses deliberate defaults, and leaves a short troubleshooting path anyone in the household can follow.
The goal is not to configure every available feature. It is to make ordinary printing boring and repeatable while preserving a recovery route when something fails. Use this guide as a framework, then follow the current setup, safety, and maintenance documentation for your exact model. Control names and supported connection methods vary, and model-specific instructions take priority.
Start with the jobs the household actually prints
Before opening the box or changing settings, list common jobs: shipping returns, school assignments, occasional photos, forms, or multi-page records. Note which devices will send them and whether scanning is necessary. This small inventory guides placement and defaults. A printer used for occasional monochrome documents needs a different everyday workflow from one shared by several people for color projects.
Also decide who will maintain it. That person does not have to handle every print job, but someone should know where approved supplies are stored, how to find the model information, and which official support page applies. Keep the purchase record and service information with other device records rather than taping passwords or network details to the printer.
Choose a stable and serviceable location
Use a level surface that can carry the printer securely, including moving parts and loaded paper trays. Leave the clearance specified by the manufacturer for ventilation, output trays, rear access, scanner lids, and jam removal. Avoid direct sun, heating vents, damp rooms, loose rugs, and the edge of a busy table. A low shelf may look convenient but can invite pet hair, dust, and bumps.
Place it close enough to a suitable outlet that its power cord reaches without tension or an unsafe crossing. Follow the electrical guidance supplied with the device; do not improvise with an overloaded adapter. If you plan a wired computer or network connection, measure the cable route before settling on the location. If you plan Wi-Fi, confirm that a phone or laptop has a steady signal at the printer’s position. The home Wi-Fi troubleshooting guide can help identify a weak location before you blame the printer.
Store paper flat, dry, and protected from dust nearby, but do not block vents or pile supplies on top. Leave room to pull the printer forward safely for rear access. Take a photo of the cable arrangement after setup; it provides an easy reference if someone disconnects it later.
| Decision | Practical default | When to choose differently | Recovery route |
|---|---|---|---|
| Connection | One stable wired or wireless method | Mobility, layout, or official support requires another | Keep the supported cable or setup instructions accessible |
| Paper | Common size and plain type | The job uses labels, envelopes, photos, or specialty media | Restore the everyday setting after the job |
| Color | Monochrome for routine text | Color conveys necessary information | Preview before printing again |
| Quality | Standard | Draft review or final presentation needs another mode | Return to standard afterward |
| Two-sided | On for suitable documents | Forms, specialty paper, or layout makes it unsuitable | Check preview and binding edge |
Unpack without forcing moving parts
Follow the illustrated sequence for removing shipping tape, inserts, carriage restraints, and protective materials. Similar pieces can be hidden in paper paths or access doors. Do not move a printhead carriage or roller by force. Install included components and supplies only in the order documented for the model. Save reusable packing materials until the printer has completed setup and a successful test.
Load a small amount of compatible, undamaged paper. Fan or flex it only if the manual recommends doing so, square the stack, and adjust guides so they touch without bowing the sheets. Tell the printer the actual size and type when prompted. Many apparent feed failures begin with damp paper, curled sheets, an overfilled tray, or guides set too loosely.
Pick one primary connection
A direct cable can be a dependable choice for a printer used by one nearby computer. A wired network connection can suit a stationary shared printer if the model and home network support it. Wi-Fi is flexible, but it adds the router and wireless environment to the troubleshooting chain. Choose based on the documented options, physical layout, and who needs access rather than assuming wireless is automatically better.
Complete the primary setup before enabling a second path. Multiple entries for the same printer can leave people selecting an old, offline, or generic queue. Give the working queue a clear device name on each computer if the operating system permits it. If you later change the connection, remove obsolete queues only after the replacement has printed successfully. This preserves a recovery path instead of destroying the known setup too early.
For wireless setup, use the official process and connect to the intended home network. Do not expose the printer through router changes or internet-facing services merely to make local printing work. If guest-network isolation prevents devices from communicating, consult the router and printer documentation before changing security settings. The guidance on how to secure a home Wi-Fi network explains why convenience should not require weakening the whole network.
Install trusted software and preserve recovery information
Use the current official support channel for the exact model and operating system. An operating system may install a basic driver automatically, while scanning or maintenance may require additional official software. Avoid download sites, search advertisements, and unexpected support callers. Record the precise model identifier and official support location so another household member can find the right instructions later.
Apply printer firmware or software updates through documented controls, with stable power and enough time to finish. Read the manufacturer’s instructions before interrupting an update. If an update fails, do not repeatedly unplug the printer; use its official recovery procedure. A calm device update routine makes maintenance more deliberate across the rest of the household, too.
If setup creates an account or enables remote printing, decide whether the feature is genuinely needed. Use a unique password and preserve recovery details in your normal secure system. Review sharing permissions and remove access for people who no longer need it. Do not put credentials, recovery codes, or sensitive documents in an unprotected note beside the printer.
Set defaults that match ordinary work
Open the printer settings from the operating system and print dialog, then identify the defaults for paper size, paper type, orientation, color, quality, and duplex printing. Use the paper size actually loaded. Standard quality is a sensible baseline; draft can suit disposable review copies, while high quality should be reserved for jobs that benefit. Monochrome can reduce accidental color use, but choose color when meaning depends on it.
Two-sided printing saves paper on many long documents, but confirm the binding direction in preview. It may be inappropriate for forms, labels, envelopes, photos, or media whose instructions prohibit duplex feeding. Specialty media must match the printer’s documented type, size, tray, and printable side. Never run adhesive, damaged, stapled, or heat-sensitive material unless the model documentation explicitly supports it.
Make the printer you actually use the default only after a successful test. On shared devices, confirm that each person sees the same intended queue. Teach household members to check the destination, page range, copies, scale, and color before pressing Print. A preview prevents far more waste than troubleshooting after twenty incorrect pages emerge.
Run a controlled test
Print the built-in status or test page if the setup guide requests it, then print a simple one-page document from the primary computer or phone. Confirm that text is complete, margins look reasonable, the paper feeds cleanly, and the correct tray and settings were used. Test scanning separately if needed, saving a disposable page to a clearly named temporary location.
Next, test one additional household device at a time. Do not send the same test repeatedly when nothing appears; multiple jobs may remain in the queue and print later. Check the queue first, cancel only the duplicate jobs you recognize, and leave unrelated documents alone. Sensitive failed jobs deserve special care because their titles or content may remain visible in history, output trays, or application lists.
Use a short troubleshooting ladder
When printing stops, identify what changed. Is the printer powered on without an error? Does it have the right paper and closed access doors? Is the job paused in the correct queue? Can another device print? Is the connection cable seated, or is the printer still on the intended network? These observations separate printer, connection, device, and application problems.
Then try one reversible step at a time. Resume a paused queue, correct paper settings, or restart the application. If official guidance recommends restarting the printer, let it complete its shutdown sequence where possible, then restart the sending device if necessary. Preserve screenshots or exact error wording before clearing anything. Avoid factory reset as an early step: it can erase connection and account settings while leaving the original cause unresolved.
For a paper jam, follow the documented access path and direction of removal. Power down if instructed, use both hands, and pull slowly to avoid tearing paper. Check for scraps without reaching into hot, sharp, or moving areas. Do not substitute tools or dismantle covers. Repeated jams, grinding sounds, leaking supplies, smoke, scorching odors, or damaged power parts call for official service guidance and discontinued use until the device is safe.
Maintain the setup without overworking it
Keep the exterior and accessible areas free of dust using the approved method. The guide to cleaning electronics safely provides a cautious general approach, but printer interiors and rollers require model-specific directions. Run built-in cleaning or alignment only when print quality or official guidance indicates a need; unnecessary cycles can consume supplies.
Keep one reasonable supply replacement if delays would matter, but avoid accumulating materials that may age before use. Store cartridges, toner, and paper exactly as directed, away from temperature extremes and moisture. When replacing supplies, protect the work surface and follow handling and recycling instructions. Do not touch sensitive surfaces or try unverified refill procedures.
Once every few months, confirm that the working printer queue still matches the physical printer, remove clearly obsolete duplicates, review remote access, and print a test page if the device has been idle. Update your short setup note when the network, computer, or location changes. A useful note contains the model, connection method, queue name, paper default, official support path, and date the setup was last tested—not passwords.
Frequently asked questions
Is Wi-Fi always the best home printer connection?
No. Wi-Fi is convenient for multiple mobile devices, but a supported cable may be simpler for one nearby computer, and a wired network may be stable for a shared location. Choose the least complicated supported method that meets the household’s needs.
Why does my computer show two copies of the same printer?
The printer may have been added through different connection methods or rediscovered after a change. Identify the queue that completes a test successfully. Rename it clearly if possible, and remove obsolete entries only after verifying they are not someone’s recovery route.
Should I reset the printer when it goes offline?
Not first. Check power, visible errors, the selected queue, paused jobs, cables, and network connection. Restart according to official guidance if appropriate. Reserve a factory reset for a documented situation because it may erase useful configuration.
How can I avoid printing the wrong pages?
Use print preview and check the printer destination, page range, number of copies, paper size, orientation, scale, color, and two-sided setting. For a long or unfamiliar document, print one representative page before committing to the entire job.
What should I keep in a printer setup note?
Record the exact model, physical location, primary connection method, working queue name, ordinary paper defaults, and official support path. Do not include passwords or sensitive account recovery codes in an exposed note.
Final home printer setup checklist
- Define common jobs, devices, and the maintenance owner.
- Use a stable, ventilated location with safe access to power and trays.
- Remove packing materials and load supported paper as documented.
- Choose and test one primary connection before adding alternatives.
- Install software from the manufacturer’s current official channel.
- Set paper, color, quality, and duplex defaults intentionally.
- Print a controlled test from each device that needs access.
- Record the model, queue, connection, and official support path.
- Preserve working settings before deleting queues or considering a reset.
- Stop using the printer when electrical damage, smoke, heat, or unsafe mechanical behavior appears.
A low-stress home printer setup depends less on clever features than on clear choices. Give the device a good location, one dependable path, understandable defaults, and a reversible troubleshooting sequence. When the setup is documented and tested, ordinary jobs become routine—and the occasional failure becomes a small problem with a known starting point.