

A better video call rarely requires a studio or an expensive equipment upgrade. The biggest improvements usually come from placing the camera well, giving it useful light, moving the microphone closer, reducing room noise, and testing the connection before the conversation starts. Treat those as parts of one system and you can improve video call quality with equipment you already own.
The goal is not a cinematic image. It is a call in which people can see your expressions, understand every sentence, and stay focused on the conversation. Start with reversible changes. Do not buy or replace anything until a controlled test identifies the weak link.
Establish a clean baseline
Before rearranging the room, restart the calling app and close programs that are heavily using the camera, microphone, processor, or network. Connect the charger if the computer changes performance while running on battery. In the calling app, confirm that the selected camera, microphone, and speakers are the devices you intend to use. A laptop may choose a dock, display, headset, or previously paired accessory instead.
Make a private test call or record a short clip using the same device and room you will use later. Speak at a normal volume, turn your head, type briefly, and pause so background noise is audible. Watch it with headphones. Write down one specific problem: for example, “face is darker than background,” “voice echoes,” or “picture freezes when another device streams.” A precise symptom makes the next step useful.
Fix camera position before camera settings
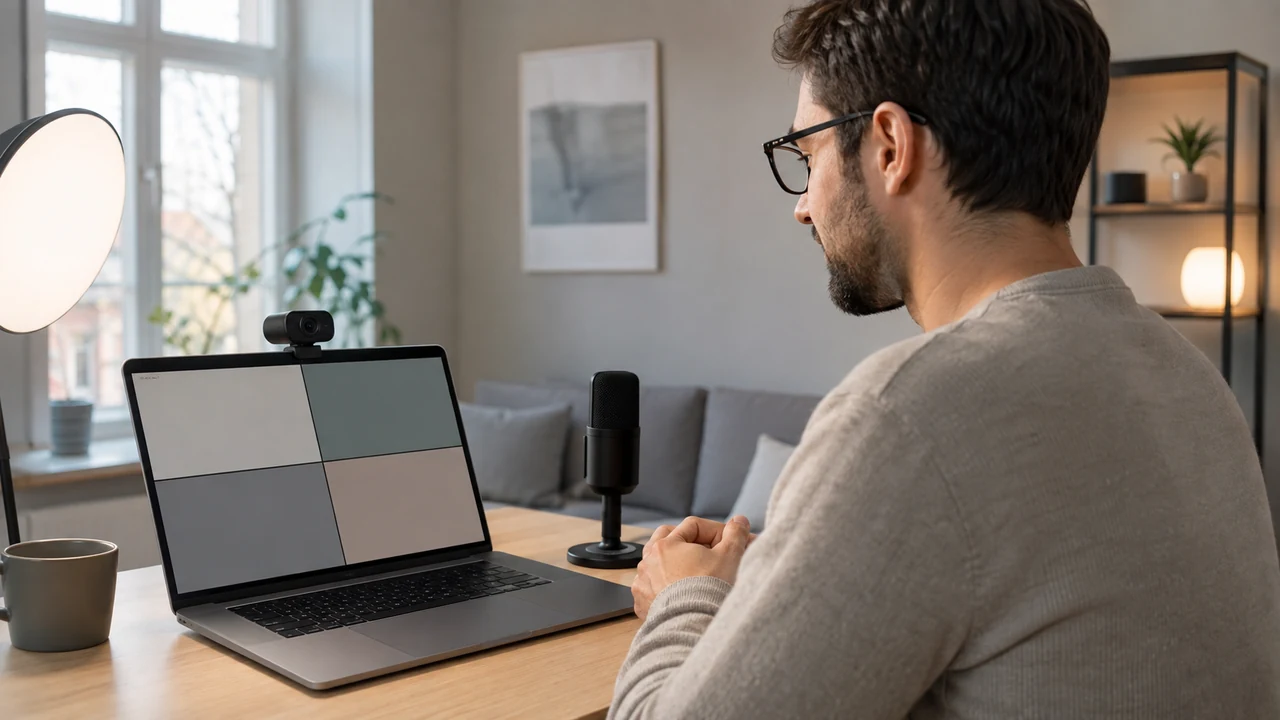
Raise the laptop or webcam until the lens is close to eye level. A stable stand or a firm stack of books can work, provided vents remain clear and the device cannot slide. Put the screen far enough away that your head and shoulders fit comfortably. Look into the lens when making an important point, but look at the other person naturally while listening.
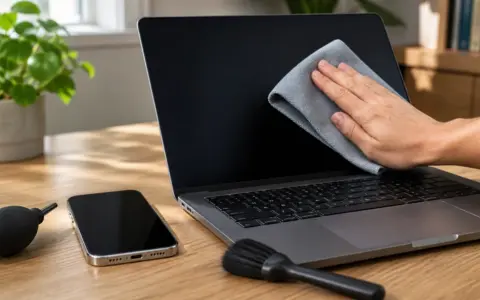
Clean the camera cover gently with a clean microfiber cloth. Do not apply liquid directly to the camera or push anything into its housing. The broader principles in our guide to cleaning screens, keyboards, and charging ports safely also apply here: power down when the manufacturer directs it, use minimal moisture, and follow the device maker’s cleaning documentation.
Frame the shot so the top of your head is not pressed against the edge and the camera is not looking dramatically upward or downward. Keep the background simple, but do not spend time making it empty. Remove distracting motion and private material such as mail, calendars, family photos, or a readable whiteboard. If the app offers background effects, test them rather than assuming they will look natural. Hair, glasses, hands, and low light can expose masking errors.
Use light the camera can handle
Face a window or place a diffuse lamp slightly above eye level and off to one side. A bare, intense light aimed directly at the face can create glare and discomfort; soften it by bouncing it off a pale wall or using a shade designed for the lamp. Never cover hot fixtures with improvised material. Daylight changes, so test near the time of the actual call.
A bright window behind you forces many cameras to choose between a dark face and a washed-out background. Turn the desk, close a blind partway, or add modest front light. Mixed lighting can also create strange color. If possible, use one dominant light source and turn off a strongly colored lamp. Automatic exposure and color controls usually settle after a moment, so sit in place before judging them.
| Symptom | Likely cause | First controlled test |
|---|---|---|
| Face looks dark | Background is much brighter | Face a window or reduce backlight |
| Image looks soft | Dirty lens, low light, or focus issue | Clean the cover and add soft front light |
| Voice sounds distant | Microphone is too far away | Move it closer and lower its input level if needed |
| Voice echoes | Speaker sound is reaching the microphone | Lower speaker volume or test headphones |
| Picture freezes | Connection or device load is unstable | Pause other heavy activity and retest |
Make speech easy to understand
Microphone distance has an outsized effect. A modest microphone close to the speaker often produces clearer speech than a premium microphone across the room. With a laptop, sit within a comfortable working distance and avoid placing papers, a loud fan, or a clattering keyboard directly beside its microphone openings. With an external microphone, use its intended speaking side and placement described by its maker; microphones do not all capture sound from the same direction.
Soft furnishings reduce hard reflections. Curtains, a rug, upholstered furniture, or even moving away from a bare wall may lessen echo. Close a door, silence notifications, and address predictable noise before reaching for software filters. Noise suppression can help with steady background sound, but aggressive processing can clip quiet words. Compare a short recording with the feature on and off.
Headphones prevent the other participants’ voices from returning through your microphone. They are especially helpful in a lively room or when two people join the same call from nearby devices. If two devices must be in one room, mute the microphone and speaker on one of them. For wireless audio that cuts out, work through the connection checks in our guide to common Bluetooth problems before assuming the headset has failed.
Set microphone input so normal speech is strong but does not distort when you laugh or emphasize a word. Automatic level control is convenient, although it may raise room noise during pauses. If your app allows manual adjustment, record several sentences at normal and energetic volumes. Preserve the original setting so you can restore it if the change is worse.
Protect connection quality
A sharp camera cannot compensate for an unstable connection. If video freezes or audio breaks up, test close to the router or use a supported wired connection when practical. Pause large downloads, cloud sync, game updates, and high-resolution streaming during the call. Ask other household members before interrupting their activity. The step-by-step checks in troubleshooting slow Wi-Fi at home can help separate a local coverage problem from a broader service issue.
Reducing outgoing video quality may stabilize a difficult call, but setting names and availability vary. Follow the app’s current help documentation. If communication is the priority, turning your camera off temporarily can preserve audio. Avoid deleting network profiles, resetting a router, or changing security settings as an early experiment; those actions can disconnect other equipment and erase useful configuration.
Check permissions and updates safely
If the camera or microphone does not appear, first verify any physical privacy shutter, hardware mute control, cable, and dock connection. Then review operating-system privacy permissions and the calling app’s device selection. Grant access only to the app that needs it. Do not disable broad security controls just to make a call work.
Install app, operating-system, driver, or firmware updates only through the official device maker, operating system, or app channel. Save work, keep the device powered, and read the current instructions before a firmware change. If an update caused the issue, document the version and symptom before changing more settings. Our low-stress device update routine explains how to make updates recoverable and easier to diagnose.
Build a repeatable pre-call routine
Save a dependable physical arrangement. A small mark for the stand position, a dedicated lamp angle, and a known microphone location remove guesswork. Ten minutes before an important meeting, connect power, check the chosen devices, confirm the frame, and make a quick sound test. Keep a wired headset or the laptop’s built-in microphone available as a fallback, rather than changing the entire setup during a live call.
If you share the computer, do not leave meeting links, recordings, or confidential notes open. Check what screen or window you are sharing before selecting it, and stop sharing when finished. A neutral background is partly a quality choice and partly a privacy boundary.
Troubleshoot one layer at a time
- Confirm the symptom. Determine whether others report video, audio, or both. A local preview cannot reveal every network issue.
- Check selection and hardware. Verify the active devices, mute controls, shutter, power, and secure cable connections.
- Simplify. Disconnect unnecessary accessories and test the built-in camera or microphone.
- Change one condition. Adjust light, distance, connection, or software setting—not all four.
- Retest in the same way. Use the same sentence, position, and recording method so the comparison means something.
- Restore what did not help. This prevents a pile of undocumented changes.
Test the suspect accessory on another compatible device, or test a known-working accessory on the original computer. That comparison can locate the fault without deleting settings. If the equipment becomes unusually hot, smells burnt, has a damaged cable, or shows battery swelling, stop using it, disconnect power when safe, and consult the manufacturer’s current safety and service guidance.
Frequently asked questions
Should I upgrade the webcam or microphone first?
Usually improve placement, lighting, and microphone distance first. If speech remains hard to understand after controlled tests, audio deserves priority. Buy only after you know the limitation and confirm compatibility with your device and calling software.
Why does my picture look worse in the meeting than in the camera preview?
The call may adjust quality because of connection conditions, device load, or app settings. Compare a local recording with a private call under the same lighting. If only the call degrades, investigate network stability and the app’s current quality options.
Is a virtual background better than showing my room?
It depends on privacy, lighting, device performance, and how well the effect separates you from the background. A simple real background often looks more consistent. Use a virtual background when it solves a real privacy need and your test looks stable.
Why can people hear an echo?
Sound from speakers may be returning to a microphone, or reflective surfaces may be coloring your voice. Lower speaker volume, try headphones, mute nearby duplicate devices, and move away from bare walls. Change one factor and ask for a new test.
Do I need special lighting?
No. A window in front of you or a safe, softly diffused household lamp can work well. Avoid unsafe improvised coverings, harsh glare, and a much brighter light behind you.
Final video call checklist
- Clean the camera cover safely and raise the lens near eye level.
- Face soft light and reduce strong backlight.
- Choose the intended camera, microphone, and speakers.
- Move the microphone closer and reduce predictable room noise.
- Use headphones if speaker sound creates echo.
- Pause unnecessary heavy network and computer activity.
- Confirm camera, microphone, and screen-sharing permissions.
- Make a short private test and change only one variable at a time.
- Keep a simple fallback device ready.
- Use official documentation for model-specific cleaning, permissions, updates, and repairs.
A dependable call setup is a small routine, not a collection of impressive gear. Once the camera position, light direction, microphone distance, and fallback are repeatable, the technology recedes and the conversation becomes the focus.